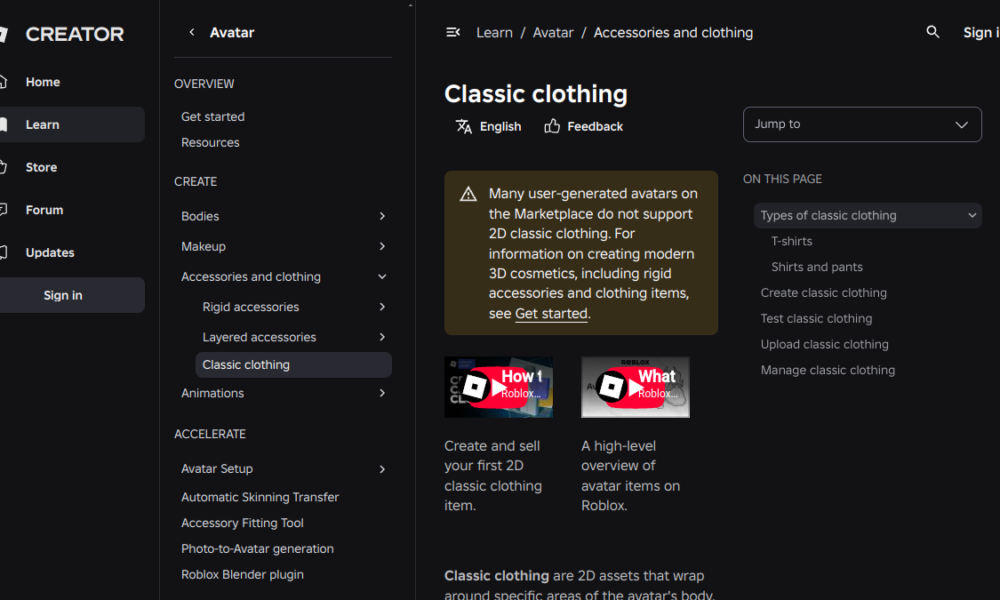

Quick answer: To make a Roblox classic Shirt or Pants item, start with the official Roblox classic clothing template, paint over its labeled regions without resizing the canvas, export as PNG or JPG, test on a block avatar in Studio, and upload through Creator Dashboard. A T-shirt works differently: it is a square image placed on the character’s front torso.
The three Roblox classic clothing formats
| Item | What it covers | Best starting point |
|---|---|---|
| Classic T-shirt | Front torso graphic | Square image, for example 512 by 512 pixels |
| Classic Shirt | Torso and arms | Official multi-panel Shirt template |
| Classic Pants | Lower torso and legs | Official multi-panel Pants template |
These flat textures are different from layered 3D clothing. A shirt template is not a substitute for making a 3D jacket, and a 3D accessory pipeline has different requirements.
What size should a Roblox shirt template be?
Commonly used classic Shirt and Pants templates have a full canvas of 585 × 559 pixels. Roblox’s current documentation focuses on the official downloadable templates rather than asking designers to invent their own layout. Its panel reference lists large 128 × 128 squares, 64 × 128 side rectangles, 128 × 64 wide strips and 64 × 64 small squares. The safest approach is always to download the current original template, preserve its canvas size and keep each painted region aligned.
Do not create a blank 585 × 559 image and guess the locations of the sleeves. Correct overall dimensions are necessary but not sufficient: seams still need to match the proper UV layout.
How to make a classic Roblox shirt or pants
- Download the relevant template linked from the official Roblox Creator Hub page.
- Open the PNG in an image editor with layers, such as GIMP or another tool you prefer.
- Keep the guide on a reference layer and paint on a separate layer. Match patterns across torso and sleeve edges.
- Avoid placing important text directly on corners or seams where wrapping can distort it.
- Hide any template labels that should not appear in the finished garment.
- Export PNG or JPG with the original dimensions and check it at full size before uploading.
- Preview it on a block avatar in Roblox Studio. Only upload the item for sale after checking how both front and back look.
Test clothing in Studio without publishing it
Roblox recommends testing before paying for a Marketplace submission. In Studio, insert a block avatar rig, create the matching ShirtGraphic, Shirt or Pants object, and set its Graphic, ShirtTemplate or PantsTemplate property to your image. Turn the rig to inspect sleeves, wrists, waistline and the back. Check multiple poses if the design has sharp edges or a belt.
This testing stage is especially useful when the graphic looks fine as a flat PNG but bends awkwardly around the model. Keep a working editable file so you can correct a seam rather than starting from the beginning.
Upload fees and current requirements
At the time of this review, the official documentation lists an 80 Robux submission fee for uploading and selling a classic clothing item, subject to current creator eligibility rules. Fees may change, so check Creator Dashboard immediately before completing an upload. Testing your design inside Studio is a separate step that Roblox says does not require that submission fee.
Open Creator Dashboard, find Avatar Items, select Classics, choose the correct type, enter a name and description, then follow the moderation flow. Do not claim ownership of designs you copied from other creators.
Why your shirt or pants looks wrong
Stretched print
Confirm the source file still uses the official canvas size. Export tools often resize accidentally when a design is cropped or flattened.
Design appears on the wrong side
The torso and arm panels are not a simple front/back photograph. Recheck the official template labels, especially the narrow side pieces.
Invisible clothing
Check whether the uploaded asset has completed moderation and whether you assigned the correct property on the rig. Some avatar types do not display classic 2D clothing as expected.
Visible template lines
Hide the guide layer before exporting. If the guides were merged into your art, return to the editable file.
Clothing template FAQ
Can I use a square image as a Roblox shirt?
Not as a classic wraparound Shirt. Square graphics are appropriate for a classic T-shirt, which covers the front torso only.
Is 585 × 559 the same as a Roblox T-shirt template?
No. The 585 × 559 layout refers to the classic wraparound garment templates; a T-shirt is typically a square graphic.
Do I need paid software?
No. Roblox’s workflow only requires a capable image editor and browser, and you can test with Roblox Studio.
Can I avoid the fee by testing first?
You can preview the garment in Studio before paying any required Marketplace submission fee, but testing does not waive upload requirements.
Building a new experience rather than clothing? Our Roblox icon dimensions guide explains a different asset type.
Checked October 9, 2026; fees and interfaces may change.

Other Articles
Roblox Decal IDs in 2026: Find, Upload and Use Images
When Was Roblox Made? 2004 Founding vs 2006 Launch