Quick answer: The best basketball shooting drills for a beginner train a repeatable release close to the hoop before adding distance, movement, a pass, or a defender. Start with form shooting; progress through one-step shooting, five-spot makes, catch-and-shoot, jump stops, and pull-ups; then finish with free throws and a pressure game. The nine drills below form a practical 30-minute session you can repeat and track without expensive equipment.
A player making long shots with a different motion each time does not necessarily have dependable shooting form. A better training target is consistent setup, balance, a controlled release, and measurable makes at distances where good mechanics survive. The drills here are adaptable coaching exercises, not official required practice prescriptions. Reduce volume if technique degrades or if the athlete is tired.
Basketball shooting drills at a glance
| Drill | Main skill | Players | Suggested starting goal |
|---|---|---|---|
| 1. Close-range form shooting | Grip, alignment and release | 1 | 10 made shots |
| 2. One-step form shots | Footwork into shot | 1 | 5 makes from each side |
| 3. Five-spot midrange | Repeatable form at varied angles | 1 | 2 makes per spot |
| 4. Catch, turn and shoot | Shot preparation from a pass | 2, or 1 with a wall/self-pass | 5 makes per side |
| 5. Jump-stop set shot | Balance after movement | 1–2 | 8 clean repetitions |
| 6. One-dribble pull-up | Transition from dribble to shot | 1 | 5 makes per direction |
| 7. Wing-to-elbow relocations | Move, set feet and shoot | 2 | 6 makes total |
| 8. Free-throw routine | Same routine each attempt | 1 | 2 sets of 5 |
| 9. Three-in-a-row finish | Calm shooting under light pressure | 1 | Three consecutive makes from a suitable spot |
Equipment: a basketball of appropriate size, a hoop at a suitable height, a clear court, and a way to record makes/attempts. One helper makes passing drills easier. For younger athletes, use a smaller ball and adjustable hoop instead of forcing a full-size ball to the official adult rim height. Always clear the landing area before a shot.
1. Close-range form shooting: start just a few feet out
Why it helps: Close-range practice reduces the temptation to heave the ball with the shoulders or rush the upper body. USA Basketball highlights balance, eyes, elbow and follow-through (the BEEF teaching cue) in its foundational shooting material. The goal is to produce a comfortable, repeatable shot, not an artificially rigid position identical for every athlete.
- Stand two to five feet from the hoop at an easy angle; use the side from which you can comfortably see the target.
- Place the shooting hand beneath and slightly behind the ball. The guide hand steadies the ball without propelling it sideways.
- Start balanced, with knees slightly flexed and eyes on a consistent target.
- Extend smoothly, release with the shooting hand, and hold the follow-through briefly.
- After each shot, look for straight flight and repeatable landing balance. Make ten quality shots before moving away.
Common mistake: Switching to a two-handed push because the hoop is too high or the player is too far away. Move closer or lower the hoop when possible, rather than reinforcing a heaving motion. See USA Basketball’s foundational shooting resources.
2. One-step shooting: connect feet and release
Start with the shooting footwork rather than treating the release as an isolated arm movement.
- Begin one short step back from a comfortable close-range shooting spot.
- Step into the shot, set a stable base, then rise and release in one controlled sequence.
- Repeat five makes with the lead approach from one side and five from the other.
- Keep the last step small enough that your momentum does not carry you into the basket support.
Coaching cue: The step should help establish balance, not throw the body forward. The Jr. NBA includes a one-step form-shooting progression in its instructional library.
3. Five-spot shooting: make your practice measurable
Choose five easy spots in an arc around the basket: left baseline, left 45-degree angle, center, right 45-degree angle, and right baseline. Start at a comfortable midrange distance; for a novice this may be closer than the free-throw line.
- Take one unhurried practice shot to settle at each spot.
- Record makes and attempts, not just made shots.
- Stay until you make two clean shots or reach five attempts, then move on.
- Complete all five spots and note which angle needs more work.
Example: If you make 2 of 5 from the left wing and 2 of 2 from the center, your form may be less reliable when you change your shooting angle. Do not compare percentages taken at different distances as if they represent the same difficulty. Aim to improve consistency from the same positions over several sessions.
4. Catch, turn and shoot: prepare before the pass arrives
The pass itself often determines whether a player can shoot comfortably. A balanced catch creates a cleaner decision than catching the ball at shoulder height with the feet twisted.
- Set up at a comfortable wing position with a helper passing from near the top of the key.
- Show your hands and watch the ball into them.
- Turn to face the rim while setting the feet into a stable legal stance.
- Shoot without an unnecessary extra dip or off-balance hop; hold your landing space.
- Make five from each wing. Change the pass angle only when catching and balance are reliable.
Solo alternative: Toss the ball gently to yourself with a controlled bounce or use a safe wall pass in an appropriate practice area. No need to claim the wall passes are identical to a live teammate feed. Jr. NBA’s Catch, Turn and Shoot lesson emphasizes balance and facing the basket.
5. Jump-stop shooting: build a stable base
Run or walk toward a marked shooting area at an easy speed, catch or gather the ball legally, and stop with both feet landing in control before shooting. The jump stop is a footwork teaching method, not permission to add extra steps beyond the rulebook.
- Start without a ball and practice an easy two-foot landing with bent knees.
- Repeat while receiving a gentle pass from a helper.
- Gather, jump-stop, bring the ball to the shooting pocket, and shoot.
- Complete eight well-controlled tries, changing the approach angle halfway through.
Do not rush into a jumping shot until the athlete can decelerate safely. See the Jr. NBA Jump Stop Shooting Drill for a coach demonstration.
6. One-dribble pull-up: move, gather and shoot
When the catch-and-shoot is stable, add exactly one deliberate dribble. The difficult part is not dribbling quickly but reaching a shooting position without drifting off balance.
- Start two or three steps outside a spot from which you can make an easy set shot.
- Take one controlled dribble toward that spot.
- Gather using legal footwork and stop with the torso upright.
- Release smoothly. Make five from the right approach and five from the left.
Progression: Add a passive defender standing to the side only after the ball-handler can stop consistently and safely. Avoid full-speed contested practice for beginners until the fundamentals are ready.
7. Wing-to-elbow relocation: shoot after changing location
This drill adds realistic movement without needing a defender. Set one starting spot on a wing and a second at the near elbow. A teammate passes when the player arrives at the new position.
- Begin on the wing with knees flexed and eyes up.
- Cut at an easy pace to the elbow; stop outside your teammate’s space.
- Show a target hand, catch and set feet.
- Take a comfortable shot; rotate between the left and right sides for six makes total.
Keep the passing distance short enough for accurate passes. Because the objective is shooting preparation, a player who misses catches repeatedly should slow the cuts before increasing the distance.
8. Free-throw routine: repeat without rushing
Free throws give you a consistent, stationary shot to measure over time. Pick a simple routine, such as one breath, one or two comfortable dribbles, eyes on a consistent point, then a balanced release.
- Shoot five free throws using the same setup each time.
- Record makes out of five.
- Walk a short loop or take a calm rest for 20–30 seconds, then return for five more.
- Compare your accuracy across sets rather than judging one miss harshly.
If the player is too young or small to shoot at the regulation line without a heave, move the athlete closer temporarily while being clear that these attempts are practice form shots, not official free throws.
9. Three-in-a-row: add gentle, repeatable pressure
Choose a distance where a player can regularly make a comfortable shot and set a simple goal of three consecutive makes. Record the number of attempts needed. The athlete should reset between attempts, take time to aim, and avoid speeding up after a miss.
Why it helps: A goal makes practice more engaging while reinforcing a consistent pre-shot routine. If the task becomes frustrating or causes technique to break down, reduce it to two in a row or move closer. This is a training game, not a test of character or mental toughness.
30-minute basketball shooting workout
This is a practical example workout rather than a medical or professional prescription. Scale the volume to the athlete’s age, fitness and skill level. It assumes access to one hoop and that you can collect rebounds efficiently.
| Time | Activity | Priority |
|---|---|---|
| 0–3 min | Light movement, ball handling and a few close-range attempts | Warm up safely |
| 3–7 min | Form shooting and one-step shooting | Clean release |
| 7–12 min | Five-spot drill | Measure angles and makes |
| 12–17 min | Catch, turn and shoot | Balance from a pass |
| 17–21 min | Jump-stop shooting | Controlled footwork |
| 21–25 min | One-dribble pull-ups and relocation | Shooting after movement |
| 25–28 min | Free throws | Consistent routine |
| 28–30 min | Three-in-a-row challenge or comfortable cooldown shots | Finish with quality mechanics |
Two minutes is not enough for every athlete to make three shots in a row. If the closing challenge takes longer, cap it by time and finish with a few relaxed makes. A thoughtful, shorter workout is better than rushing through every drill.
Track makes, not just repetitions
A simple practice log helps you see whether you are improving from the same shot locations. Keep the distance and drill definitions consistent when comparing weeks. Use the table below as a template to record one session.
| Drill / spot | Makes | Attempts | Success rate |
|---|---|---|---|
| Left wing | 3 | 6 | 50% |
| Right wing | 4 | 6 | 67% (rounded) |
| Free throws | 6 | 10 | 60% |
Formula: shooting percentage = (made shots ÷ attempts) × 100. These numbers are examples only, not performance benchmarks. Recording whether a shot was guarded, whether you were moving, and the distance matters more than squeezing every drill into a single misleading average.
Common shooting mistakes and practical fixes
| Problem | Possible reason | Next practice step |
|---|---|---|
| Most misses fall short | Shooting from too far away or limited leg contribution | Move closer; check comfortable balance and smooth extension |
| Ball spins sideways | Guide hand may be adding force or release alignment may vary | Practice easy one-hand form shots; observe rather than force wrist angles |
| Shot misses differently each time | Inconsistent feet, target or release timing | Reduce speed; keep target and footwork stable for ten repetitions |
| Player falls forward | Excessive approach momentum | Shorten the step, slow down and focus on balanced landing |
| Accuracy drops late in session | Fatigue or overly high practice volume | Take a break or end the drill; resume only with good form |
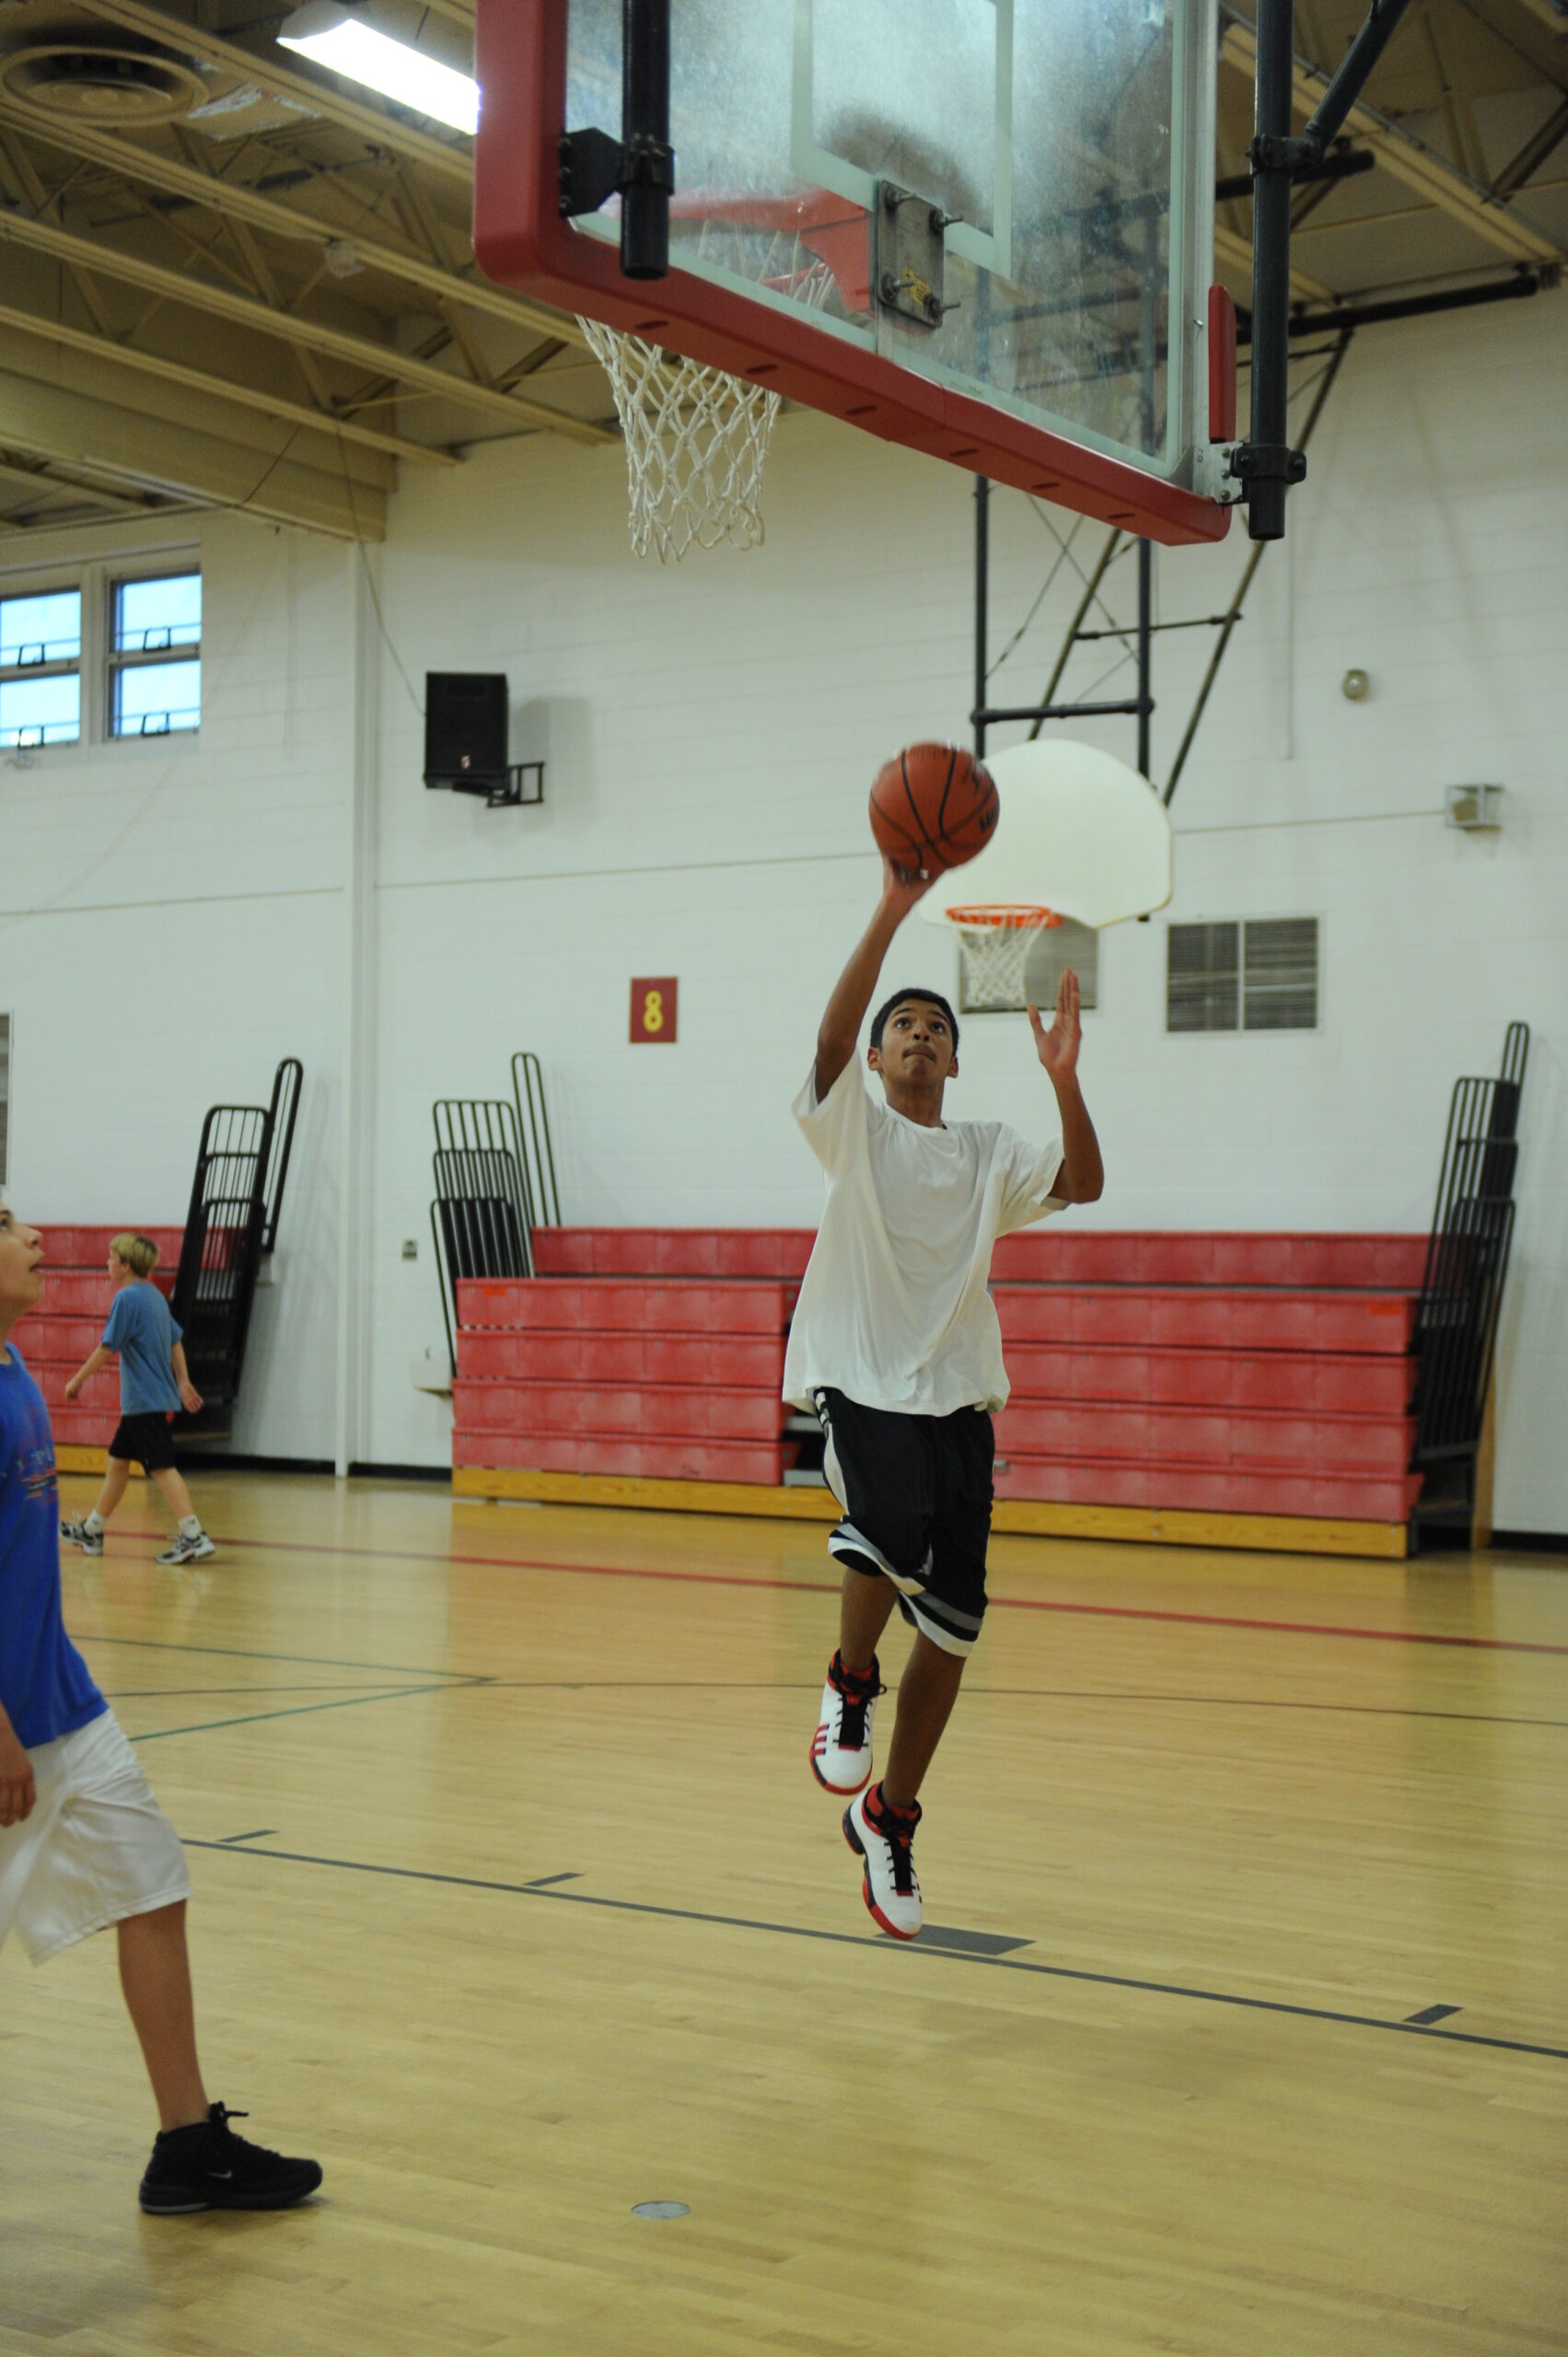
Players who are working specifically on finishing near the rim can add a different skill drill: the Mikan drill for layups and alternating hands. That near-rim drill complements this shooting routine but is not a substitute for jump-shot footwork.
Basketball shooting drills FAQ
How many shots should a beginner take each day?
There is no universally correct number. A manageable session of quality attempts is more useful than a large quota that encourages poor technique. Start with a small number of made form shots and gradually add volume when movement and concentration remain good.
Should beginners practice three-pointers?
Not before they can shoot with good form at closer distances. Long-range attempts can encourage compensating heaves when a player lacks strength or coordination. Move back only when the release stays comfortable and repeatable.
Can I do shooting drills alone?
Yes. Form shots, five-spot practice, free throws, one-dribble pull-ups and the closing game can all be done solo. A second player makes catch-and-shoot and relocation drills more realistic, but it is not essential for a useful workout.
What is the best shooting drill for consistency?
For many beginners, close-range form shooting is a useful foundation because it removes speed, defenders and long distance. Once that is stable, five-spot tracking reveals where consistency breaks down.
How often should I measure shooting percentage?
Record makes and attempts each session if it helps you stay organized, but compare meaningful blocks of shots from the same distance and drill. A few attempts can swing percentages dramatically; one short practice is not a reliable verdict on skill.
Are these official NBA drills?
They are a practical set of adaptable training exercises. Individual principles draw on guidance from Jr. NBA shooting-form resources and USA Basketball, but the exact nine-drill routine and 30-minute schedule presented here are suggested examples, not an official NBA training plan.

Other Articles