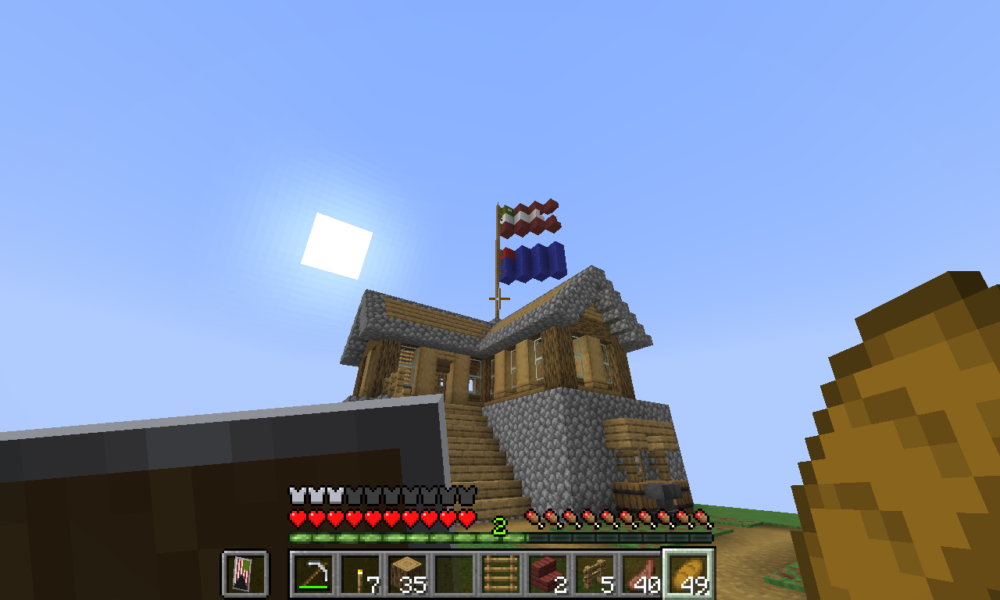

Want a Minecraft house tutorial you can follow without a complicated blueprint? Start with a 7-by-9-block rectangular floor, build four-block-high walls, leave a two-block-high entrance and add a simple pitched roof. This beginner-friendly plan uses ordinary wood, cobblestone, glass and lighting. It is an original suggested layout for Survival or Creative mode, not a claim that we built and play-tested the structure.
The instructions below explain exactly how to mark the footprint, place doors and windows, shape the roof and turn an empty shell into a useful first-night base. The plan works as a general building method in Java and Bedrock Edition, although individual controls and material availability may vary.
Quick Minecraft starter house plan
| Feature | Suggested design | Why it helps |
|---|---|---|
| Footprint | 7 blocks wide × 9 blocks deep (outside dimensions) | Small enough for an early base |
| Wall height | 4 blocks above floor level | Room for doors, windows and storage |
| Entrance | Centered on the 7-block front wall | Easy to locate and approach |
| Roof | Stair-block gable roof with overhangs | Gives a plain rectangle a recognizable shape |
| Interior | Bed, crafting table, furnace, storage and light | Supports everyday Survival play |
Materials: Gather several stacks of planks or logs for the floor and walls, stairs and slabs for the roof, a door, glass panes, and a few torches or lanterns. Bring a crafting table, furnace, chest and bed when available. The exact quantities depend on whether you use solid walls, beams, a wider roof or extra windows. If wood is scarce, substitute cobblestone for most wall sections.
How to build a Minecraft house step by step
1. Pick a safe, accessible building spot
Choose mostly flat ground near resources you expect to use, such as trees, water and stone. Avoid placing the front door directly against a cliff, deep hole or water edge. Clear plants and uneven blocks from a space slightly larger than your intended house so you have room to work around the walls.
2. Mark a 7-by-9 foundation
Place a 7-block-wide front row and extend both ends 9 blocks toward the back. Connect the rear corners to form a rectangle. These are outside dimensions: if your walls occupy the boundary, the usable interior will be 5 blocks wide by 7 blocks deep. This distinction matters when planning furniture and storage.
Fill the inside with planks, stone or another available floor material. A raised foundation one block above the surrounding ground can make the entrance easier to recognize, but you may need a step in front of the door.
3. Raise the corner posts and walls
Build each corner to four blocks above the floor, then connect the posts with wall blocks. You can use logs for corner beams and planks for the surfaces between them. Leave the central opening in the front wall two blocks tall and one block wide for a standard door. Add two-block-tall or small square window openings where you want daylight.
Check the interior from inside before filling every gap. A wall that looks balanced outside can leave awkward space for a bed or storage. Keep at least one clear walking route from the entrance to your workstations.
4. Install a door and windows
Place the door in the front opening. Add glass panes or full glass blocks to window openings once you have them. Early in Survival, you can temporarily use solid blocks and add glass later. Make sure there are no unintended gaps in the walls that allow mobs to walk straight inside.
5. Build a simple pitched roof
For a classic cottage silhouette, orient the roof ridge from the front of the house toward the back. Place a row of stair blocks along each side of the top of the walls, facing outward. Add inward and upward rows on both sides until they meet at the ridge. Use slabs or full blocks to finish the top as your chosen stair arrangement requires. Let the eaves extend one block beyond the side walls if you want an overhang.
Because different stair and slab arrangements change the number of rows needed, build a small test section at the front before extending the pattern the full nine-block depth. A flat roof is also perfectly functional if you lack the materials for a pitched one.
6. Add lighting and essential workstations
Put light sources around the entrance and inside the house. Add a crafting table, furnace, chest and bed, leaving enough room to open storage and move around. A bed is useful for setting a respawn point under the game’s applicable rules and for skipping the night when sleeping conditions permit. Light nearby exterior areas as appropriate for your game version and difficulty; do not assume that lighting a single room makes the whole surrounding area safe.
7. Finish the exterior without overspending
Place a short path to the door, add shutters or trapdoor accents if you like their appearance, and use stairs or slabs to give the walls some depth. A small fenced farm or animal area can come later. Spend your first resources on a usable shelter before decorative towers and expensive blocks.
Easy Minecraft house upgrades
| Upgrade | What to change | Best for |
|---|---|---|
| Extra storage | Build a separate chest wall along the back | Players collecting lots of resources |
| Small porch | Extend the front path and roof by a block or two | A cozier cottage entrance |
| Second floor | Reinforce the shape visually and add stairs before expanding | More room without a wider footprint |
| Stone base | Replace lower wall sections with cobblestone or stone bricks | Varied textures and a sturdier look |
| Nearby farm | Use the open land beside the house for crops | Convenient food production |
For material combinations, see AVARIXO’s Minecraft block palettes guide. If you want a much larger defensive structure, our small Minecraft castle layout covers a separate 17-by-17 fortress concept.
Common house-building mistakes
The interior feels smaller than expected
A 7-by-9 exterior is only 5-by-7 inside when the walls are one block thick. Mark furniture positions on the floor before building a second story or filling in more walls.
The roof looks flat or uneven
Use matching stair orientation on both sides and finish one cross-section before copying it toward the back. Try a darker roof material than the walls for clearer contrast.
Hostile mobs are still nearby
A house does not prevent all nearby hostile mobs from spawning or approaching. Check the doors, exterior openings, lighting and the rules for your current edition and difficulty. If a bed cannot be used, read the on-screen message to identify the immediate problem.
You run out of wood midway
Complete the floor, door and functional walls first. Cobblestone can substitute for much of the structure, while a temporary flat roof protects your base until you have enough stairs for a finished cottage roof.
Minecraft house tutorial FAQ
What is the easiest Minecraft house for a beginner?
A compact rectangular shelter with a door, enclosed walls, a roof and lighting is easier than a complex modern house or castle. The 7-by-9 plan above is one manageable starting point, not an official minimum size.
Can you build this Minecraft house in Survival?
Yes. The plan uses ordinary building blocks and does not require mods or commands. Resource gathering takes longer than in Creative mode.
Does this Minecraft house work on Java and Bedrock?
The general block-building method works in both editions. Controls, recipes and some gameplay details may differ, so check the information for your installed version.
Do I need a special seed or texture pack?
No. The layout is independent of a specific world seed, shader or texture pack.
Is the screenshot an exact blueprint for the tutorial?
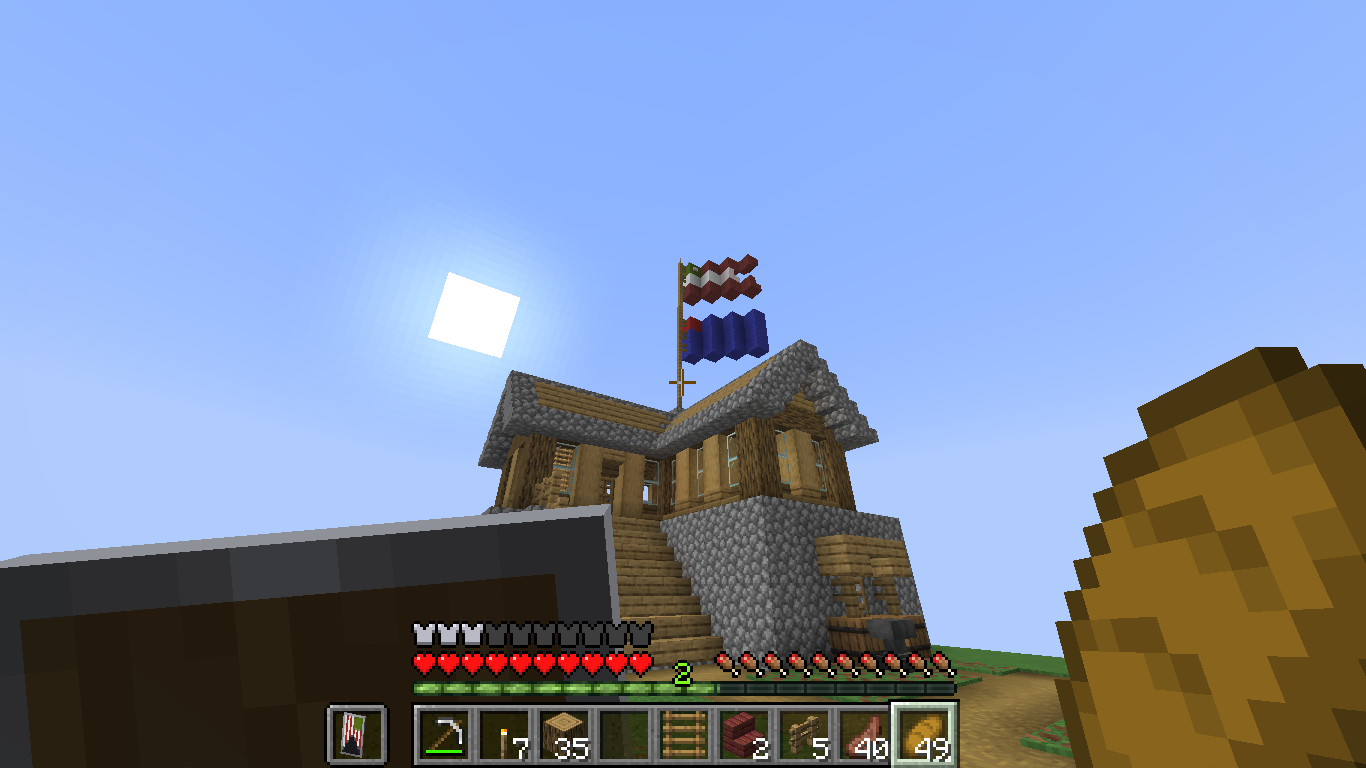
No. It illustrates a Minecraft player-built house. The numbered dimensions and construction instructions in this article are an original suggested plan, not a recreation of the photographed building.
For official information on Minecraft editions and game features, visit Minecraft and the Minecraft Help Center.

Other Articles

Best Roblox Games in 2026: 10 Great Picks for Different Players